Here is a great new project that I found – my DIY pillowcase with a cuff! I have had massive amounts of fabric in a dresser for years – owing to my enthusiasm for all those projects that I was GOING TO DO for my daughters. Well, those haven’t happened yet, and I need to do something useful with all that fabric. And since I am needing to make a little extra money now, I want to make several items to sell at a local Christmas bazaar that is coming up in December. After much perusing of patterns, I have come up with an easy craft item to make and (hopefully) sell!
[pullquote]These are super easy, and you can tailor them to fit any theme or person[/pullquote]
These are super easy, and you can tailor them to fit any theme or person. Got a kid that likes Dora the Explorer, or Thomas the Tank Engine? Want to make some pillowcases to match a certain décor, but can’t find them in the store? No problem!
My daughter is on a “Paris” kick now … well, Paris and England. She is starting to change her room from a little girls room into a young preteen room. So I made her a couple of Paris pillowcases for her bed. Here are the instructions and some photos of the actual construction of one of the pillowcases:
You will need 3 pieces of coordinating fabric; 27″ x 44″ for the main fabric, 2″ x 44″ for the insert fabric, and 9″ x 44″ for the cuff fabric. Remove selvages from each piece of fabric, if necessary. Fold the insert fabric in half lengthwise, wrong sides together. Press. You will now have a piece that is 1″ x 44″, with right side of fabric showing. (Sorry, I didn’t get a photo of this step.)
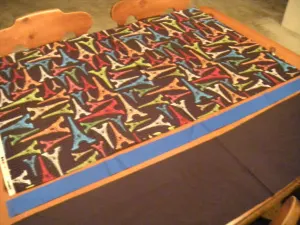
Lay out the main fabric with right side up. Layer the folded insert fabric along the 44″ edge. Layer the cuff fabric on top, wrong side up. (You are sandwiching the folded insert fabric between the main fabric and the cuff fabric.) Keep all the raw edges aligned. If necessary, trim all fabrics to the same width. Pin layers in place.
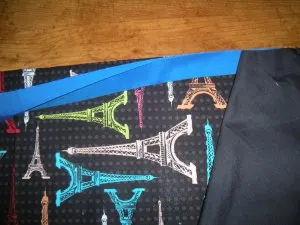
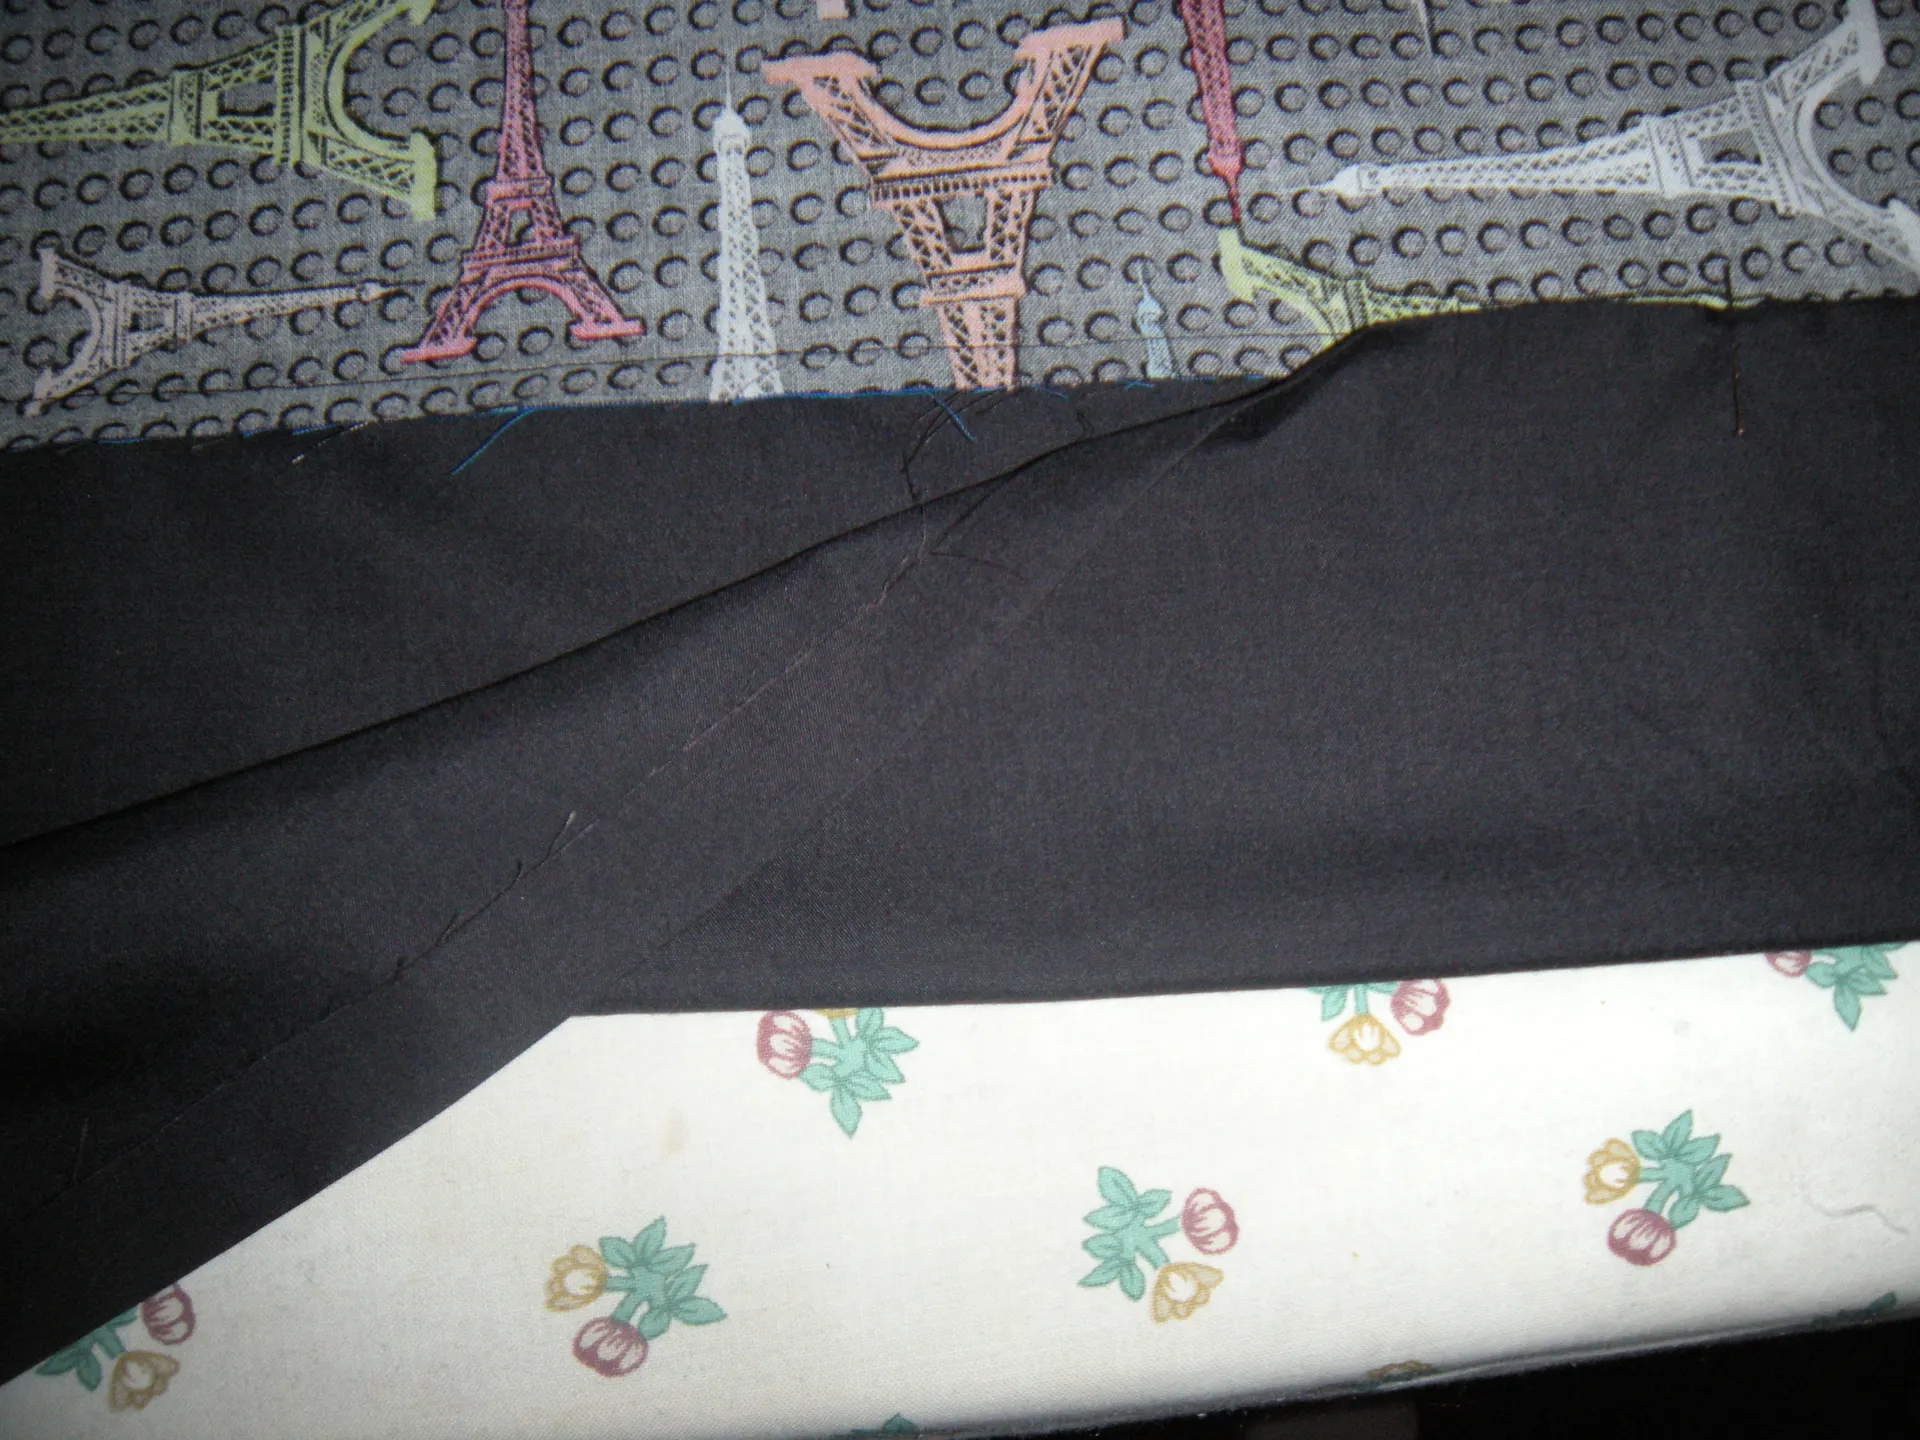
Stitch all layers together with a 1/4″ seam. Press the cuff fabric with seam toward the cuff. Press the remaining raw edge of the cuff under 1/2″, toward the wrong side of the main fabric. Fold the cuff to the inside, covering the raw edges of the seam. Pin in place. Then I always press it again, just to smooth everything out. Sorry that it’s hard to see the 1/2″ turned up on the raw edge of the black cuff fabric.
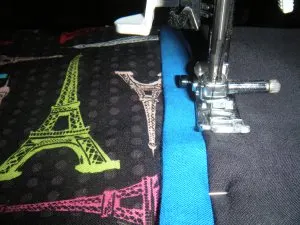
On the right side of the cuff, topstitch 1/8″ from the cuff edge (where the insert and cuff meet), stitching through all the layers.
Now it’s time to stitch up the sides! If you have a Serger machine, you can just serge the seams. I do not, so I will show you how to do a “French seam” (fitting, yes?) to finish the pillowcase. French seams are great, because they don’t leave any raw edges. 🙂
Fold the pillowcase with WRONG sides together, and stitch 1/8″ seam down across the top and down the long side. (Sorry, no photo for this step either) Remember to leave the side with the cuff open – that’s where the pillow goes! Then turn the pillowcase WRONG SIDE OUT, and press. Can you tell I use my iron almost as much as I use my sewing machine? 😉
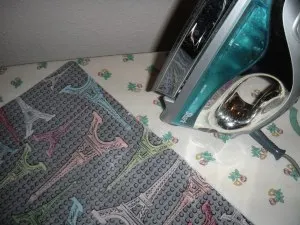
Stitch again with a 1/4″ seam allowance – no raw edges!
Now just turn the pillowcase right side out and press.
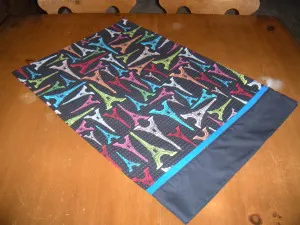
Wrap as a gift! Or insert a pillow, and keep it for yourself! 🙂
What’s your favorite craft or DIY project that you’ve made? Share it (and a link to the post, if you have one) in the comment section below! Thanks!




3 thoughts on “DIY Pillowcase with Cuff”-

-

-

Julia @ Swirls and Spice
(November 20, 2014 - 2:39 pm)I’m pinning this! Really should try to start sewing again. I’m a novice, so tutorials like this are inspiring and helpful.
Julia @ Swirls and Spice recently posted…Slow-Cooker Succotash with Quinoa and Butternut Squash
[email protected]
(November 21, 2014 - 9:42 am)Thanks, Julia! I am glad that you liked it. This was my first try at posting a tutorial, and I was hoping that it was helpful. 🙂 I am loving making these pillowcases for gifts, etc. They are easy, and that’s what I need. I don’t seem to have the patience for a long, drawn out project … I want to make it, and have it done quickly. Instant gratification, I guess. 🙂
Teresa
(October 10, 2016 - 9:58 am)Thank you for sharing this tutorial at The Really Crafty Link Party this week! I love that Eiffel Tower fabric!